One more custom job with the URR fleet.
This time a VO1000, complete repainted to URR rare gray/yellow paint scheme.
Some heavy weathering applied.
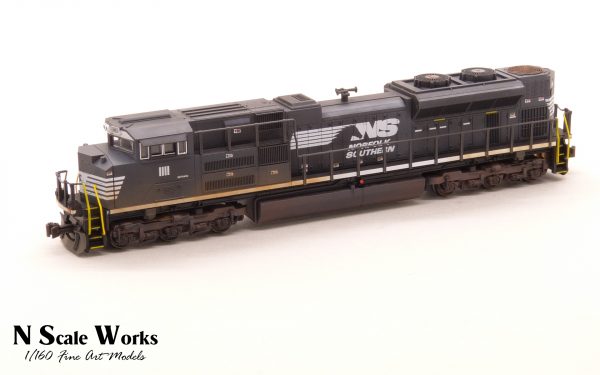
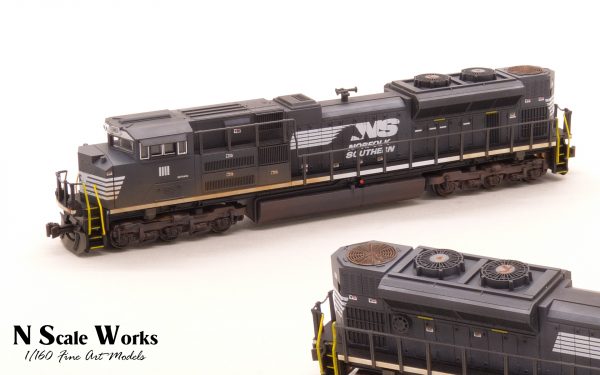
One more from the workshop.
This time Norfolk Southern #1111, the “barcode” unit. Kato SD70ACe model.
Weathering using powdered pastels, even for fading the black.

Finished another GE ES 44 AC for Ferromex. This time road number #4632 recieved a little bit of weathering.
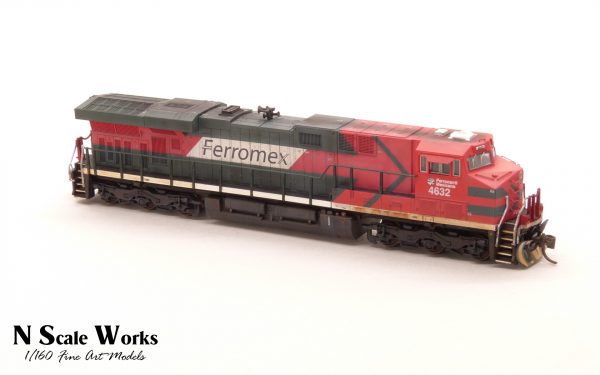
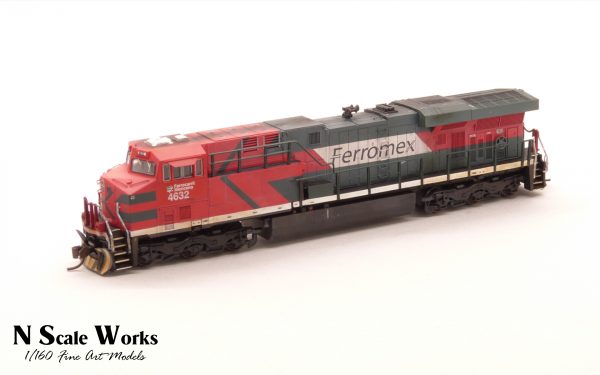
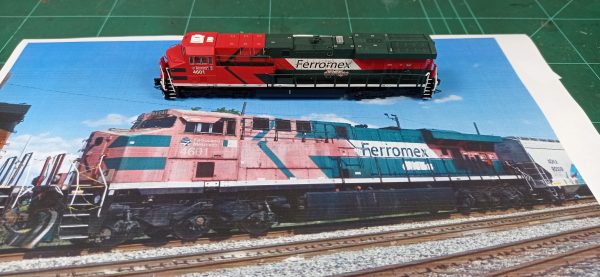
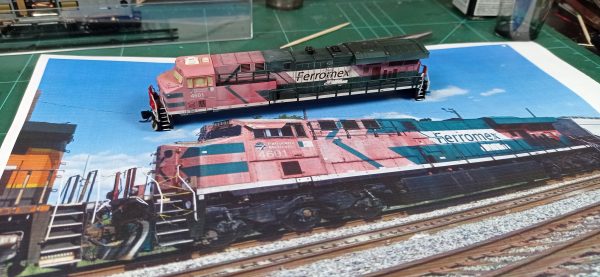
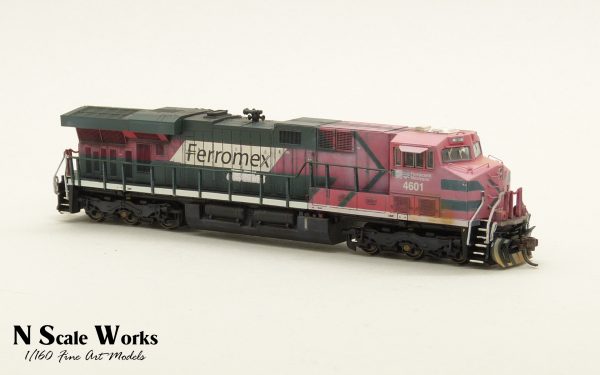
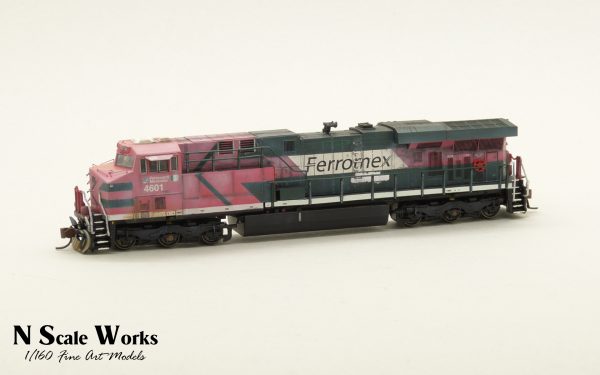
Recently finished another custom weathering job. This time a GE ES 44 AC, representing the “Ferromex” Ferrocarril Méxicano #4601.
Weathering was requested after a prototype photo, showing a some heavy sun bleaching on the red-colored parts. But it seems the have repainted the brake-wheel.
Credits to Andrew B, who posted this great image on rrpicturearchives.net
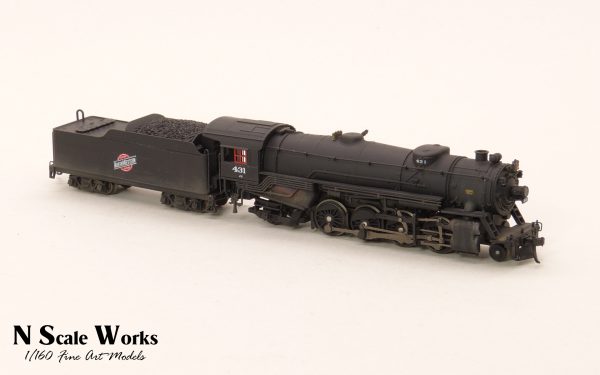
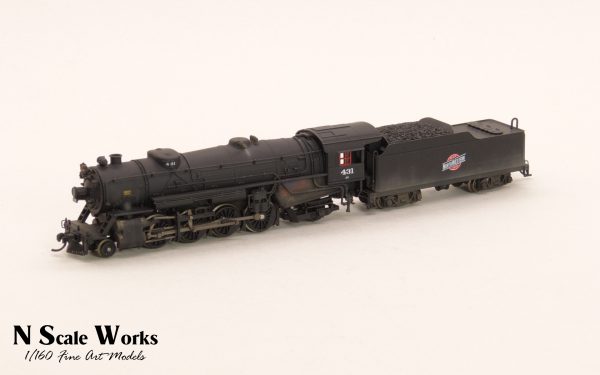
Currently finished USRA Heavy Mikado 2-8-2 from BLI.
Converted the road lettering from factory MILW to CNW with custom designed decals.
Slight weathering applied all-over the engine using acrylics and pastel powders.
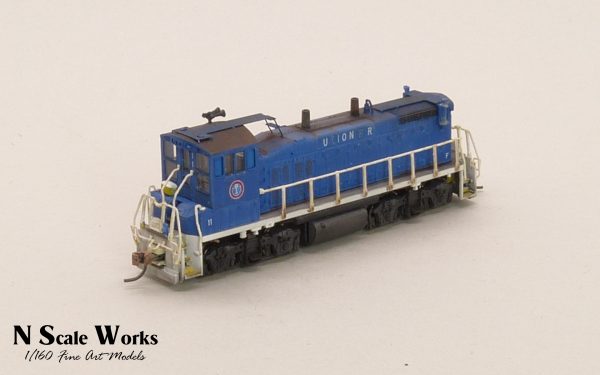
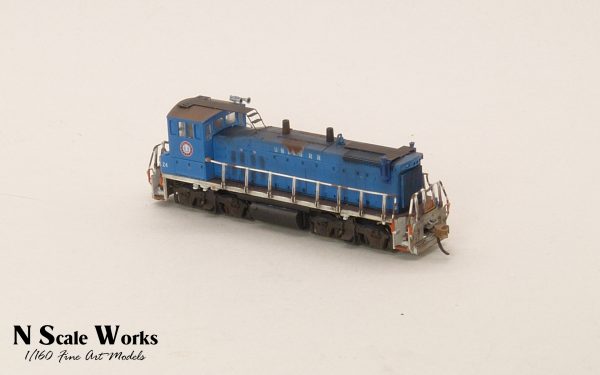
I did a URR MP15DC in the past. Today I had three more engines on my workbech to add the special sandhatches and walkways.
Sandhatches are resin printed parts I designed after proto-photos to fit the stock sandhatch.
Walkways are photo etched nickle-silver parts.
Below are two of them, with a decent weathering.
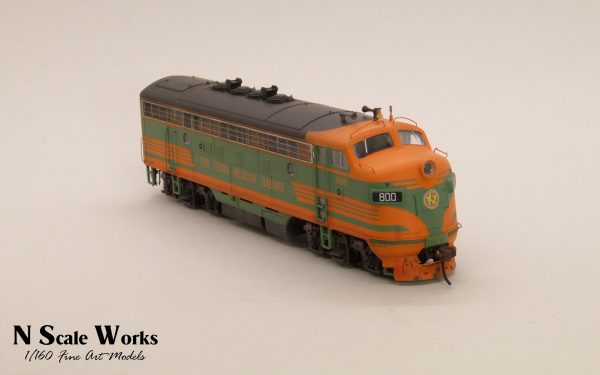
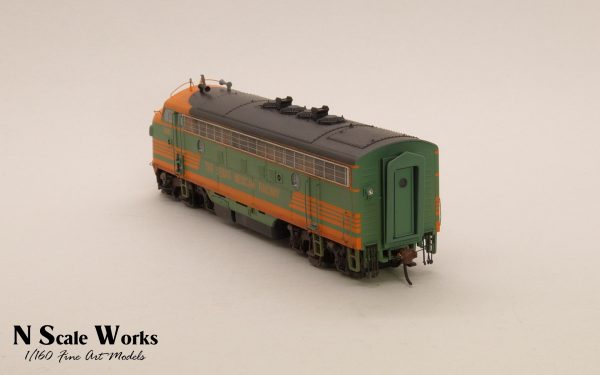
Recent commission work.
Texas Mexcian F7A #800
One of my few work in HO scale.
Full body paint, lettering and herald are decals.
Some custom designed detail parts like the backup light, spark arrestors, bell and firecracker antenna
When we started our modelmaking back in 2017 our Switchstand was the first model we released.
The story behind it is simple – I was searching the N-Scale market for some good looking stands for my own modelrailroad. But wasn’t confident with what I found. I always wanted the stands that mimic the open cast iron ones and represent much proto details as possible. So I sat down and designed my stand to match prototype apperance and dimensions, as well as it would fit the switch tie spacing on ATLAS Code 55 turnouts.
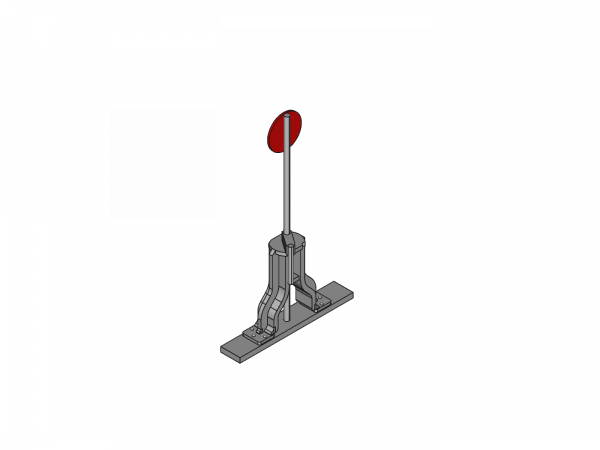
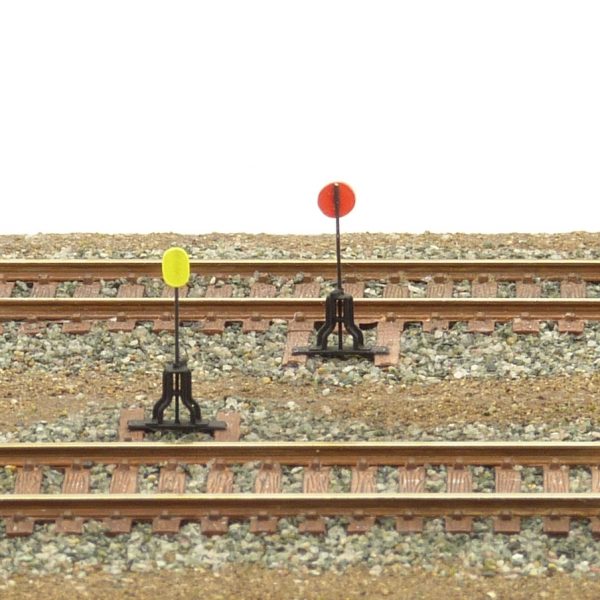
With the handlever being only 0.25 mm in diameter and the overal socket being only 4 mm tall I use access to an industry grade high end 3D printer to get all the details on the model, such as the hand lever, nuts and bolts. But the final assembly and painting is done by hand. A quit tendious work but in the end you own a unique detail part.